
To connect all the calendars associated with a single Google Calendar account, follow the instructions below. If no single account has access to all of your calendars, follow these instructions instead.
- To start syncing appointments, navigate to your account settings by clicking Account on the main menu.
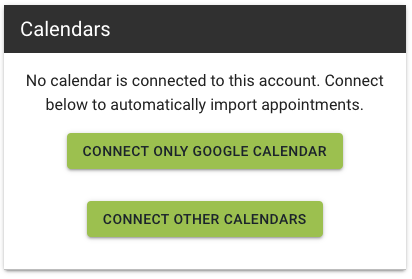
- In the Calendars box, you’ll see two buttons. It may take a few seconds for them to become active as they generate secure links for you. Once it turns green, press the Connect Only Google Calendar button.
- You will be redirected to Google. If you are signed into more than one account, you’ll see the following account selector (if you don’t see this, jump to step 4):

- Select the account you want to link with Day Optimizer. Next, you’ll be presented with an approval screen:

- Click the Allow button to connect your calendar to Day Optimizer and start automatically importing events. You’ll be redirected back to Day Optimizer and see a spinning circle in the Calendars section while we verify the security of your connection and link your account.
Once your account is linked, you’ll see a list of the calendars in that account that Day Optimizer will import appointments from:

Depending on the number of appointments you have to import, it may take a minute or two to import. Once they have been imported, they will appear on the calendar on the Appointments page, accessible from the main menu.
Copyright © 2026 Strategic Life Tools
—
Powered by 